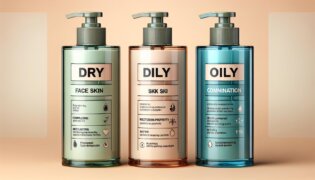
Ever wondered how to make lotion at home? It’s easier than you might think. You can create a moisturizer tailored to your skin type with just a few ingredients and a bit of spare time. Not only will it be free from harsh chemicals, but it’ll also save you money in the long run.
Making your lotion allows you to control what goes onto your skin. It’s a fun and rewarding DIY project that even beginners can tackle. So, let’s dive into the process and get you started on your homemade skincare journey.
Key Takeaways
- Making your lotion at home is a simple, cost-effective, and healthier alternative to store-bought lotions. You gain complete control over the ingredients, ensuring you avoid harsh chemicals.
- Selecting suitable base oils like Almond Oil, Coconut Oil, or Jojoba Oil is vital as they greatly moisturize and soften your skin. Essential oils such as Lavender, Tea Tree, or Mint add a personalized scent and additional benefits to your lotion.
- Essential tools for DIY lotion making include mixing tools such as bowls, measuring spoons and cups, a blender or mixer, and a spatula. In addition, a heat source such as a double boiler or similar setup is necessary to melt and combine certain ingredients.
- Creating your lotion involves precisely measuring the ingredients, mixing the oils, wax, and water at a specific temperature, allowing it to cool, and then adding your chosen fragrances and colors.
- Proper storage of your homemade lotion is necessary to maintain its quality and extend its shelf life. Glass jars are ideal for storage. Its shelf life can range from a week to ten days if no preservative is added and several weeks or months if a natural preservative is used.
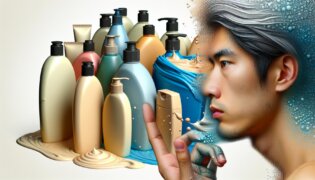
Choosing Ingredients for Homemade Lotion
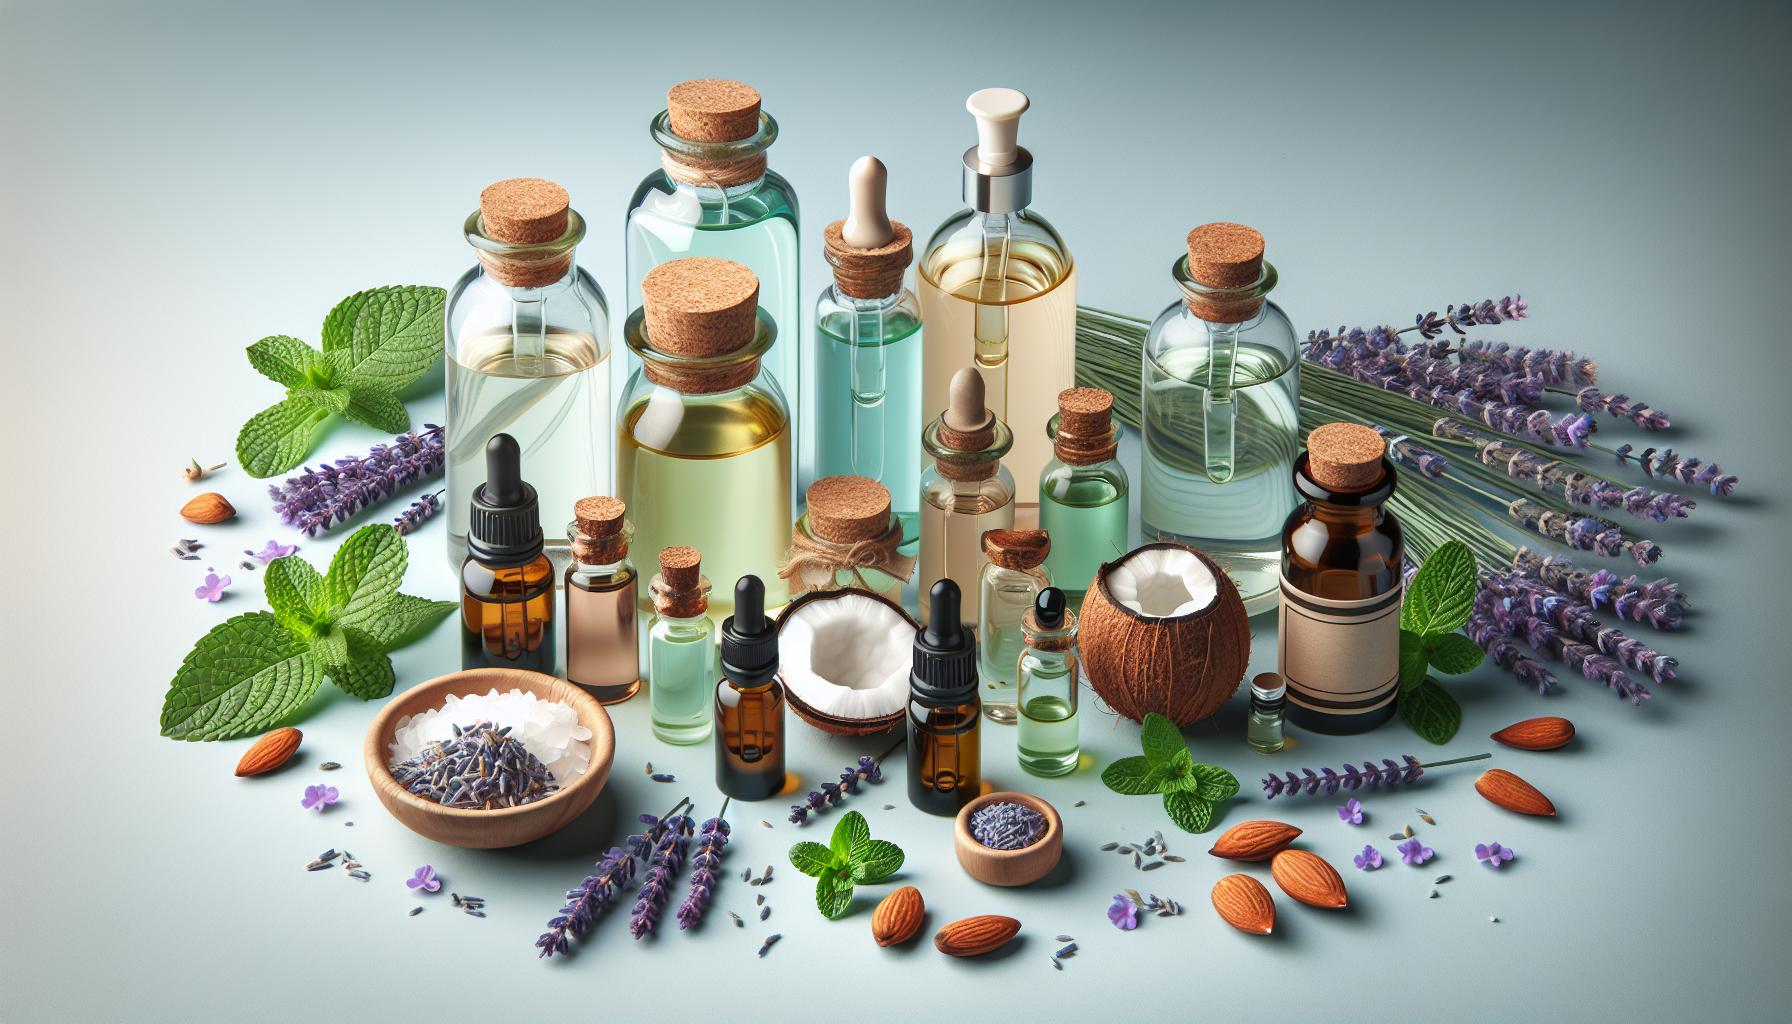
The ingredients you select play a crucial part when making your body lotion. It’s not just about what’s easy to find online or at the store, but ensuring what’s good for your skin. Let’s delve into the different kinds of base oils you could use and how to choose essential oils for scent.
Types of Base Oils to Use
Base oils are pivotal in your homemade lotion. They’re the part that keeps the skin moisturized and soft. Some recommended options include:
- Almond Oil: This is a favorite amongst many DIY lotion makers, known for its rich vitamins and skin-nourishing facets.
- Coconut Oil: It’s a versatile oil, offering deep moisturization and a hint of exotic scent to your lotion.
- Jojoba Oil: I adore it, as it closely matches the skin’s natural sebum, making it an excellent choice for a more natural lotion.
Remember, you can mix and match to find what works best for your skin!
Essential Oils for Fragrance
Adding essential oils to your homemade lotion allows you to personalize the scent and provide additional benefits. Here are a few options:
- Lavender: A widely used essential oil, it not only adds a calming scent but also has beneficial properties for the skin.
- Tea Tree: Add a few drops of this oil if you have blemish-prone skin. It’s known for its potent anti-bacterial properties.
- Mint: Want a refreshing, invigorating scent in your body lotion? Mint is your friend.
Remember, essential oils are potent; only a few drops should be added to your lotion mixture. This helps ensure you’re not overpowering your lotion with a strong scent or disturbing your skin with too much oil.
I’ve just laid out terrific choices for you to consider. Now, the real fun begins – crafting your lotion! In the next part, we’ll walk through the step-by-step process of making a DIY lotion.
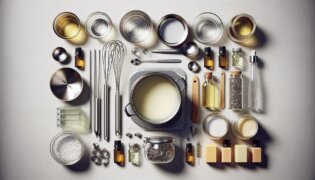
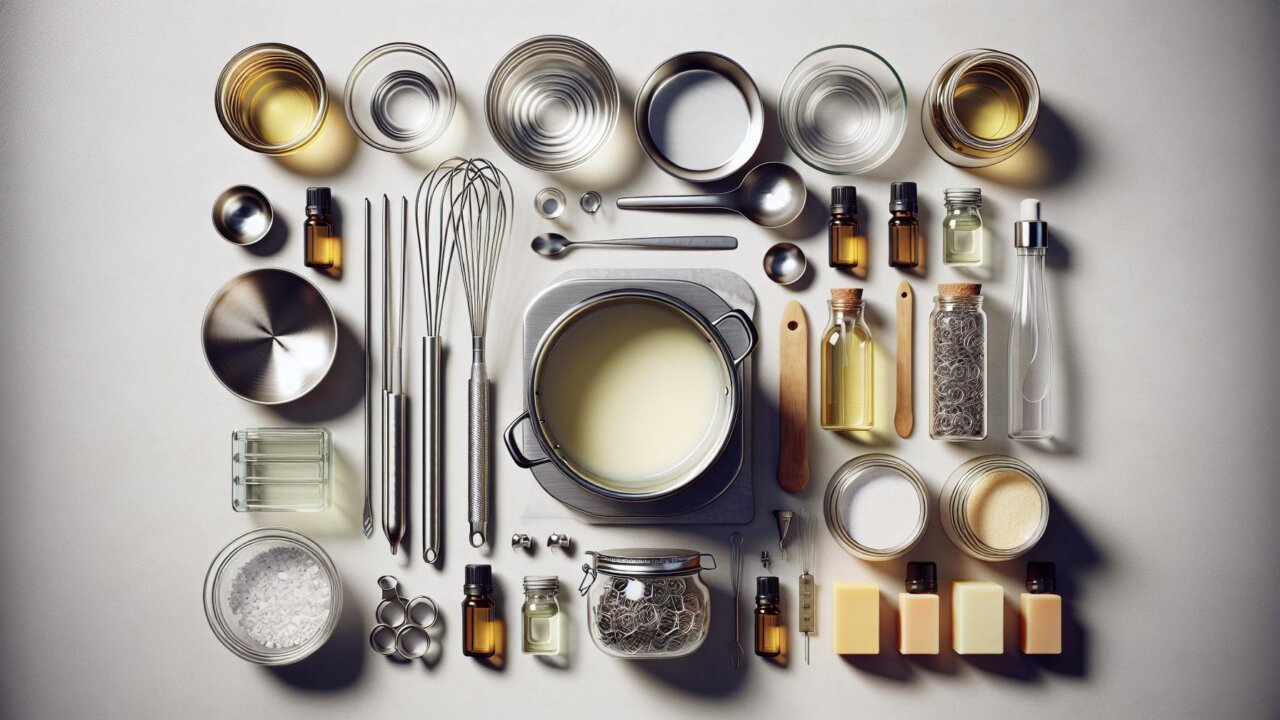
Equipment Needed for Making Lotion
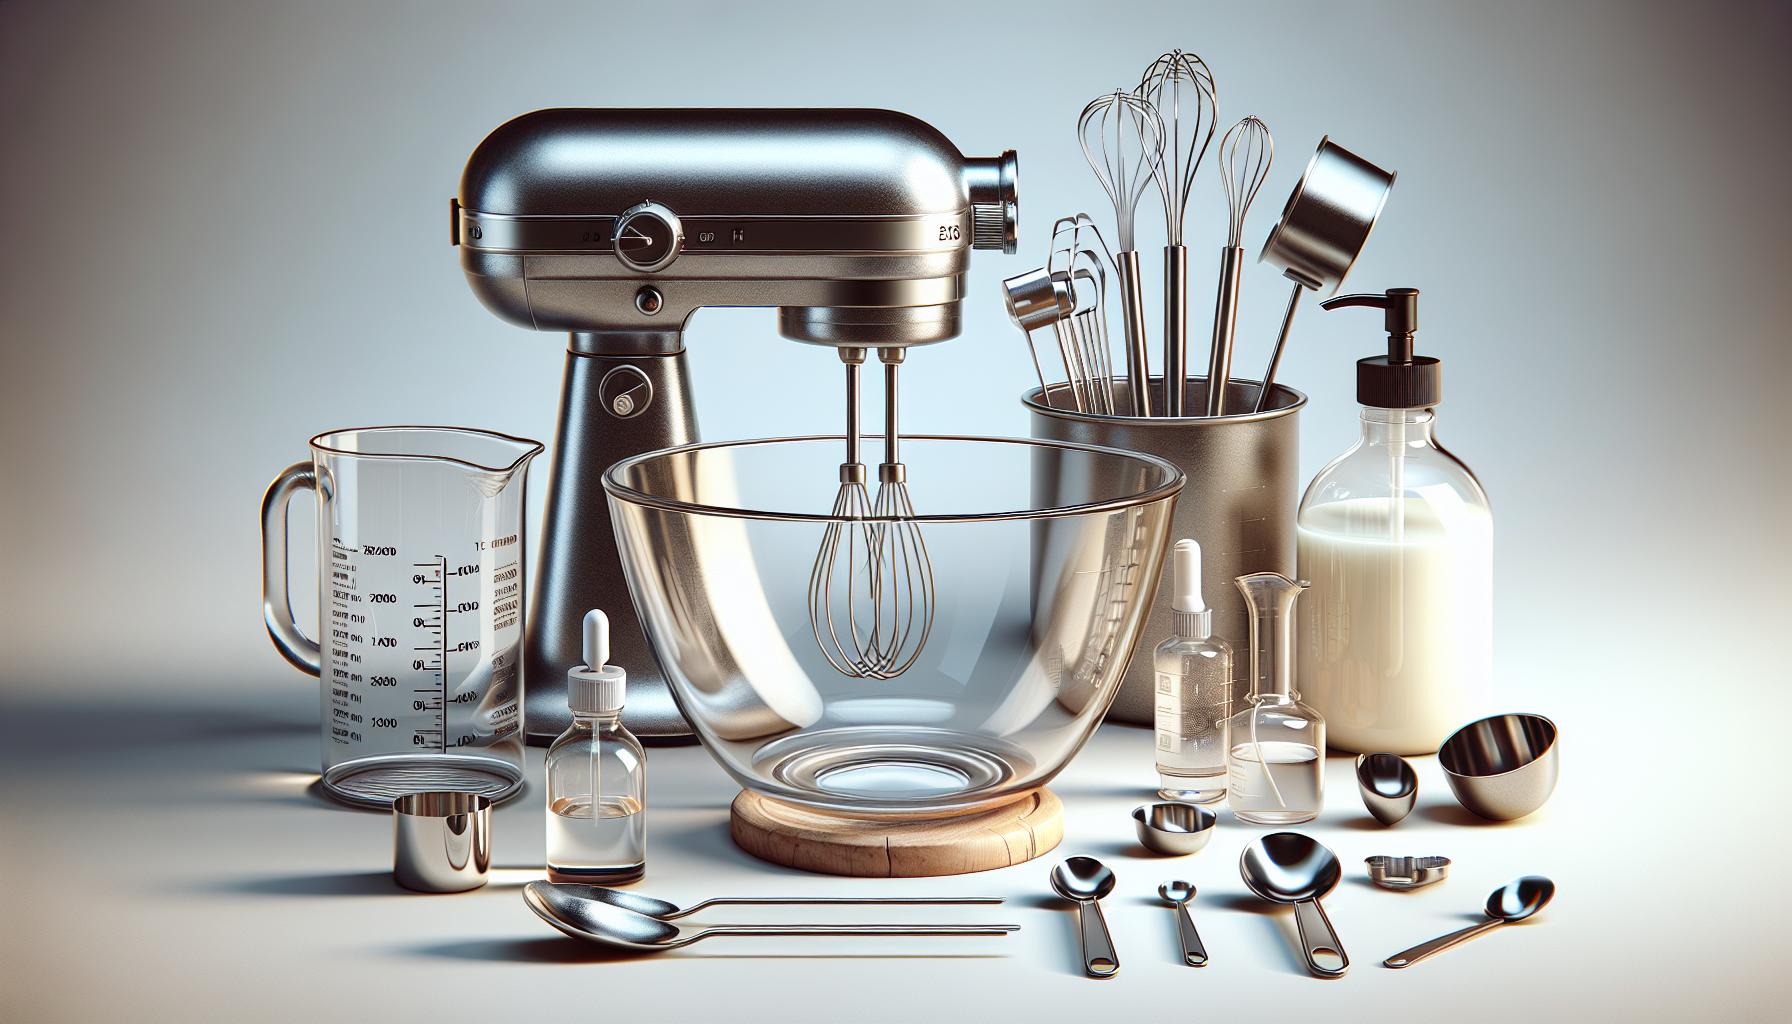
Having touched on the significance of the right ingredients and essential oils, let’s explore the crucial tools required for making DIY lotion.
Mixing Tools
The role of mixing tools in creating a smooth body lotion can’t be understated. You’ll need tools to ensure that your lotion reaches optimal consistency, blending the base and essential oils evenly.
First, you’d need a good-sized bowl to mix your lotion. This could be a ceramic, glass, or stainless-steel bowl. However, avoid plastic as it can easily be scratched and harbor bacteria growth.
I think measuring spoons and cups is essential for accurately following your recipe. It’s best to have a set designated purely for homemade beauty products to avoid cross-contamination with food.
You’d also need a blender or a hand mixer to get that creamy, silky texture. These are necessary to avoid having a chunky lotion. Be mindful that a high-speed blender generates heat that can affect the lotion’s texture, so you may want to use a hand mixer for more delicate recipes.
A spatula would be a great tool to have on hand as well. It helps to scrape off any attached lotion to your mixing bowl, ensuring no ingredients go to waste.
Heat Sources
Certain ingredients, such as beeswax and base oils, might need heat to blend optimally. A double boiler or bain-marie works superbly for this purpose. It provides a gentle heat source perfect for melting beeswax or combining ingredients without the risk of overheating or burning, which can alter your lotion’s properties.
Suppose you don’t have a double boiler, no worries. You can employ a stainless-steel bowl over a pan of simmering water as a practical alternative.
While making your homemade body lotion, please ensure safety measures are in addition to this equipment. After all, mixing and heating ingredients should be done carefully to maintain their beneficial properties and achieve the desired results.
Step-by-Step Guide to Making Lotion
Having already introduced the essential tools and safety tips for crafting homemade lotion, we can dive into the actual process. Let’s unravel the secrets of lush, moisturizing body lotion made right at your home.
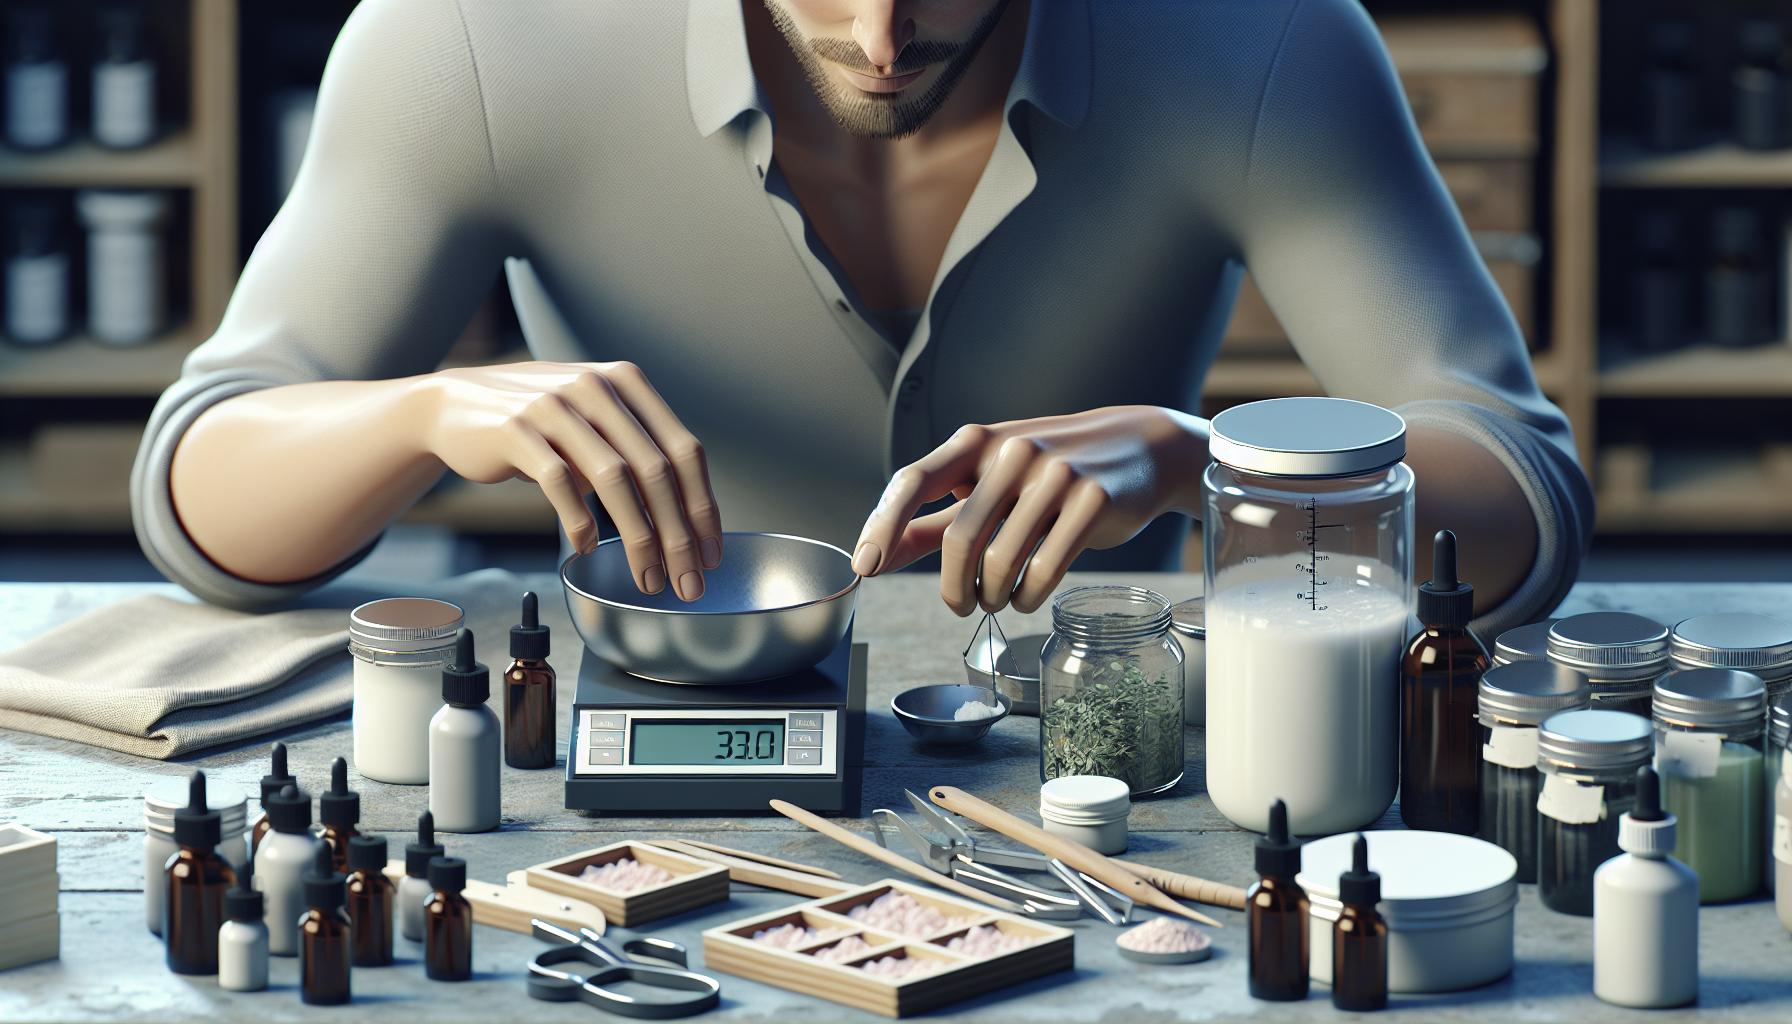
Measuring Ingredients
The initial step in lotion creation involves measuring the ingredients. Precision is vital here, as even a minor miscalculation can disrupt the balance of the lotion’s composition. The water, oils, emulsifying wax, and other additives must be calculated precisely to maintain the lotion’s desired consistency.
For the job, I always recommend using digital scales for precision and measuring spoons for smaller quantities. Remember to calibrate your scale and clean your tools after every use.
Mixing The Base
Once your ingredients are ready, it’s time to move on to the stage where your lotion begins to take shape: mixing the base.
Start by melting the oils and wax in a double boiler or your preferred heating method. Heat to about 160 degrees Fahrenheit and keep it there for 20 minutes. This kills any potential bacteria and ensures a stable lotion.
You can also heat the water in a separate pot to the same temperature. Once ready, it’s time to introduce the water to the oil mixture. Pour slowly, blending the mix continuously until it forms a milky, homogenous substance.
After this critical step, it’s time to let your lotion cool. I suggest hitting two birds with one stone by sterilizing your storage containers while you wait. Cleanliness is essential in every stage of lotion making.
Adding Fragrance and Color
You can unleash your creativity and customize your homemade body lotion here.
Adding essential oils not only provides fragrance but also incorporates therapeutic qualities. Detailed charts showing the essential oil-to-lotion ratios are available online. To maintain the fragrance and properties, you can thoroughly blend in the oils only after your base mix has cooled to around 100-120 degrees Fahrenheit.
For coloring your lotion, food-grade coloring works fine. Just remember that a little goes a long way, so start with a small amount and add gradually until the desired color is reached.
Storing and Using Your Homemade Lotion
Once your lotion has cooled and you’ve successfully added your choice of fragrance and color, it’s time to store and use it correctly to maintain its shelf life and quality.
Remember, homemade body lotion requires a different storage method than your standard store-bought products, given that it lacks the preservatives usual in commercially made lotions.
Proper Storage Containers
Choosing the correct storage container might seem like a minuscule task, but trust me, it’s pivotal. Choosing containers can be the downfall of your lotion, affecting its quality and shelf life.
- Glass jars: My best pick for this purpose is glass jars. They’re easy to sterilize and don’t react with the contents within, ensuring your lotion remains impeccable.
- Plastic containers: Alternatively, you can use plastic containers, especially the ones designed for toiletries. However, make sure to check they are BPA-free.
Shelf Life of Homemade Lotions
The shelf life of homemade lotions is a topic filled with much debate:
- Without a preservative: If you go entirely natural and decide not to incorporate preservatives into your lotion, anticipate a shelf life ranging from a week to ten days.
- With a preservative: Adding a natural preservative to your body lotion can extend its life to several weeks or months. Phenonip and Grapefruit Seed Extract are standard options.
You can always store your lotion in an excellent, dry location. Bathroom counters, although convenient, maybe too humid and can degrade the lotion faster.
Please note that the guidance provided here is flexible, as several variables can impact the shelf life of your lotion, including the type of oil and water used during the manufacturing process and the cleanliness of your work area and tools.
Remember to always sniff-test your homemade lotion before each use. If it has an odd or rancid smell, it’s best to discard it and start fresh. This is the advantage of homemade lotions – they encourage a fresh product with each use.
Conclusion
So there you have it! Crafting homemade lotion is more manageable than it might seem. By paying attention to detail in ingredient measurement, you can create a blend that’s just right for you. Remember, the key elements are melting your oils and wax, blending with water, and adding your favorite fragrance and color. Storing your lotion in the proper containers, like glass jars or BPA-free plastic, will help prolong its freshness. While the shelf life of your homemade lotion can vary, it’s always a good idea to give it a sniff test before using it. With this knowledge, you’re ready to venture into DIY skincare. Enjoy the process and satisfaction of creating your own personalized products.